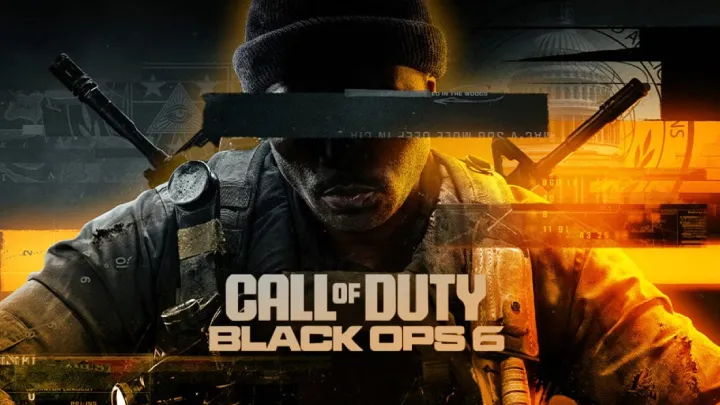
Call of Duty®: Black Ops 6
All trademarks belong to their respective owners.
Adverisement
🔒 Unlock Bonus
Watch a rewarded ad to discover curated HTML5 games
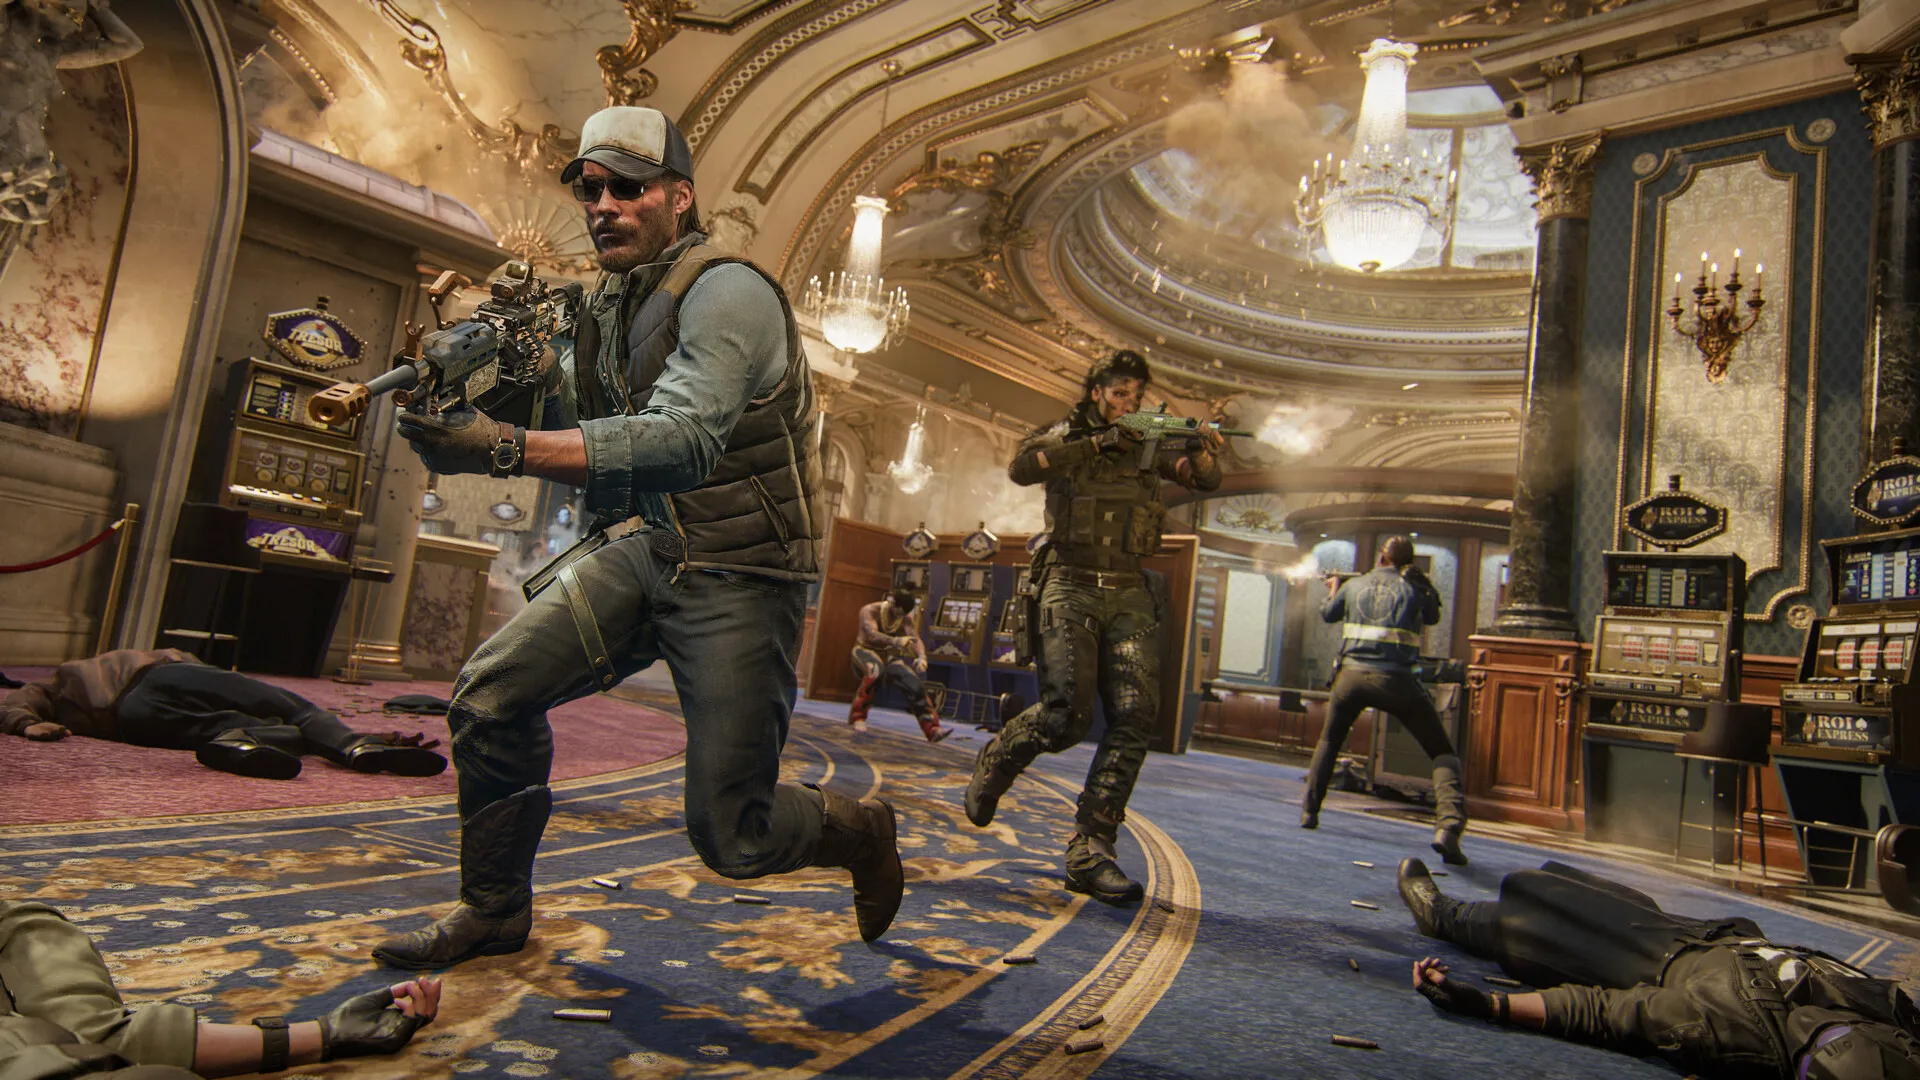
Screenshot


Call of Duty®: Black Ops 6 Summary
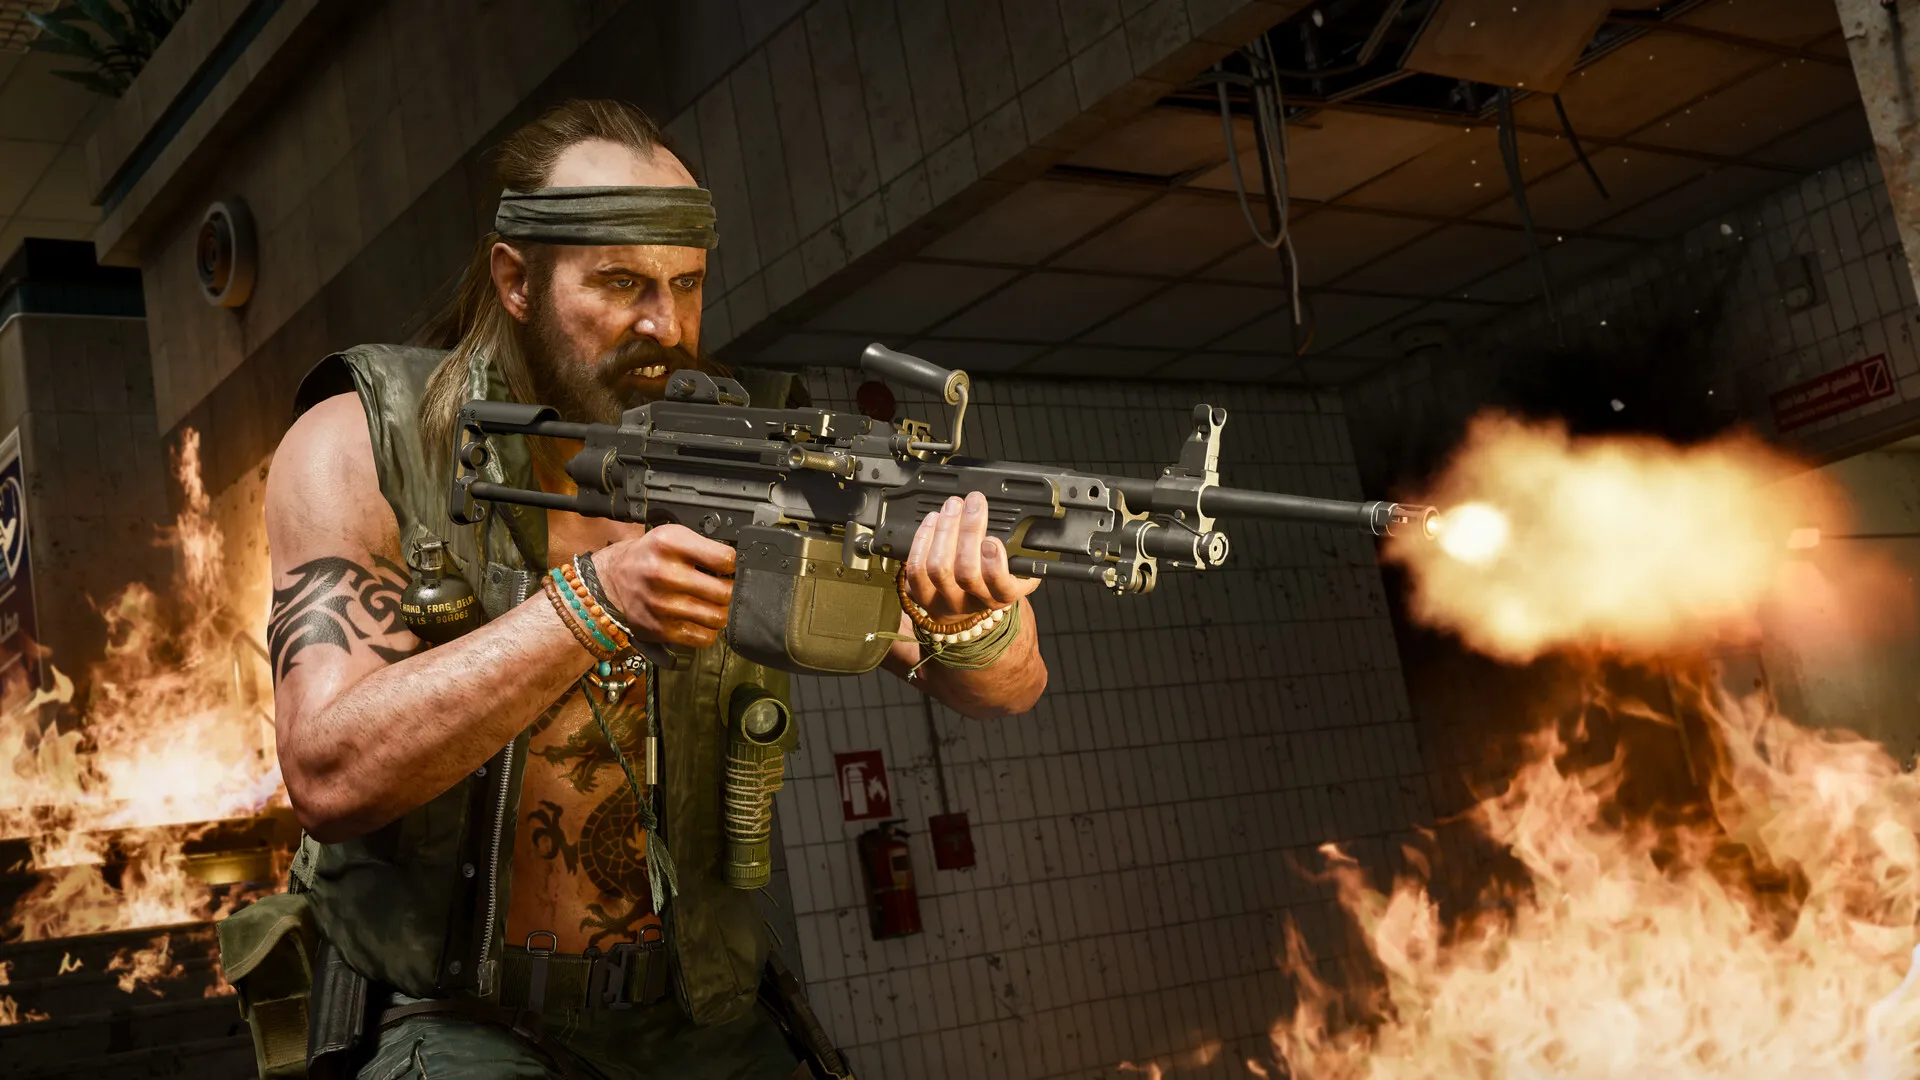
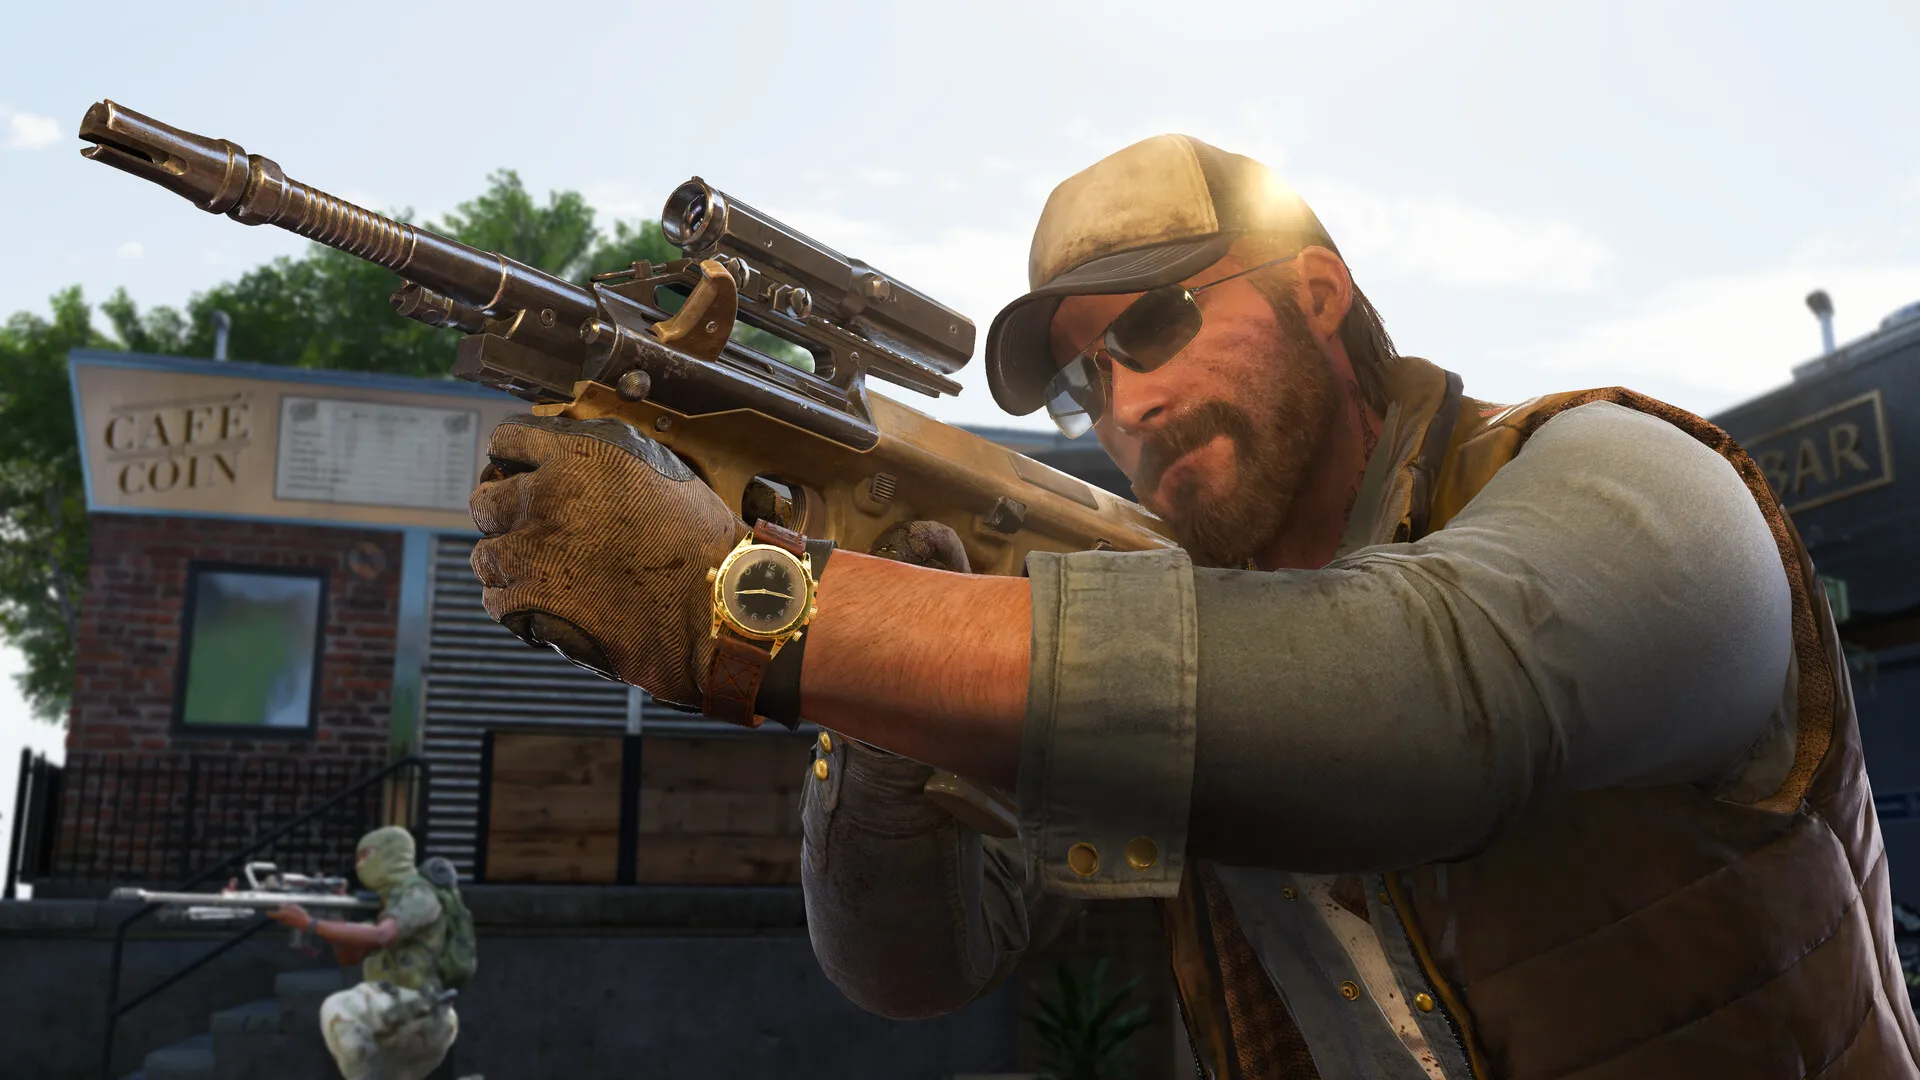
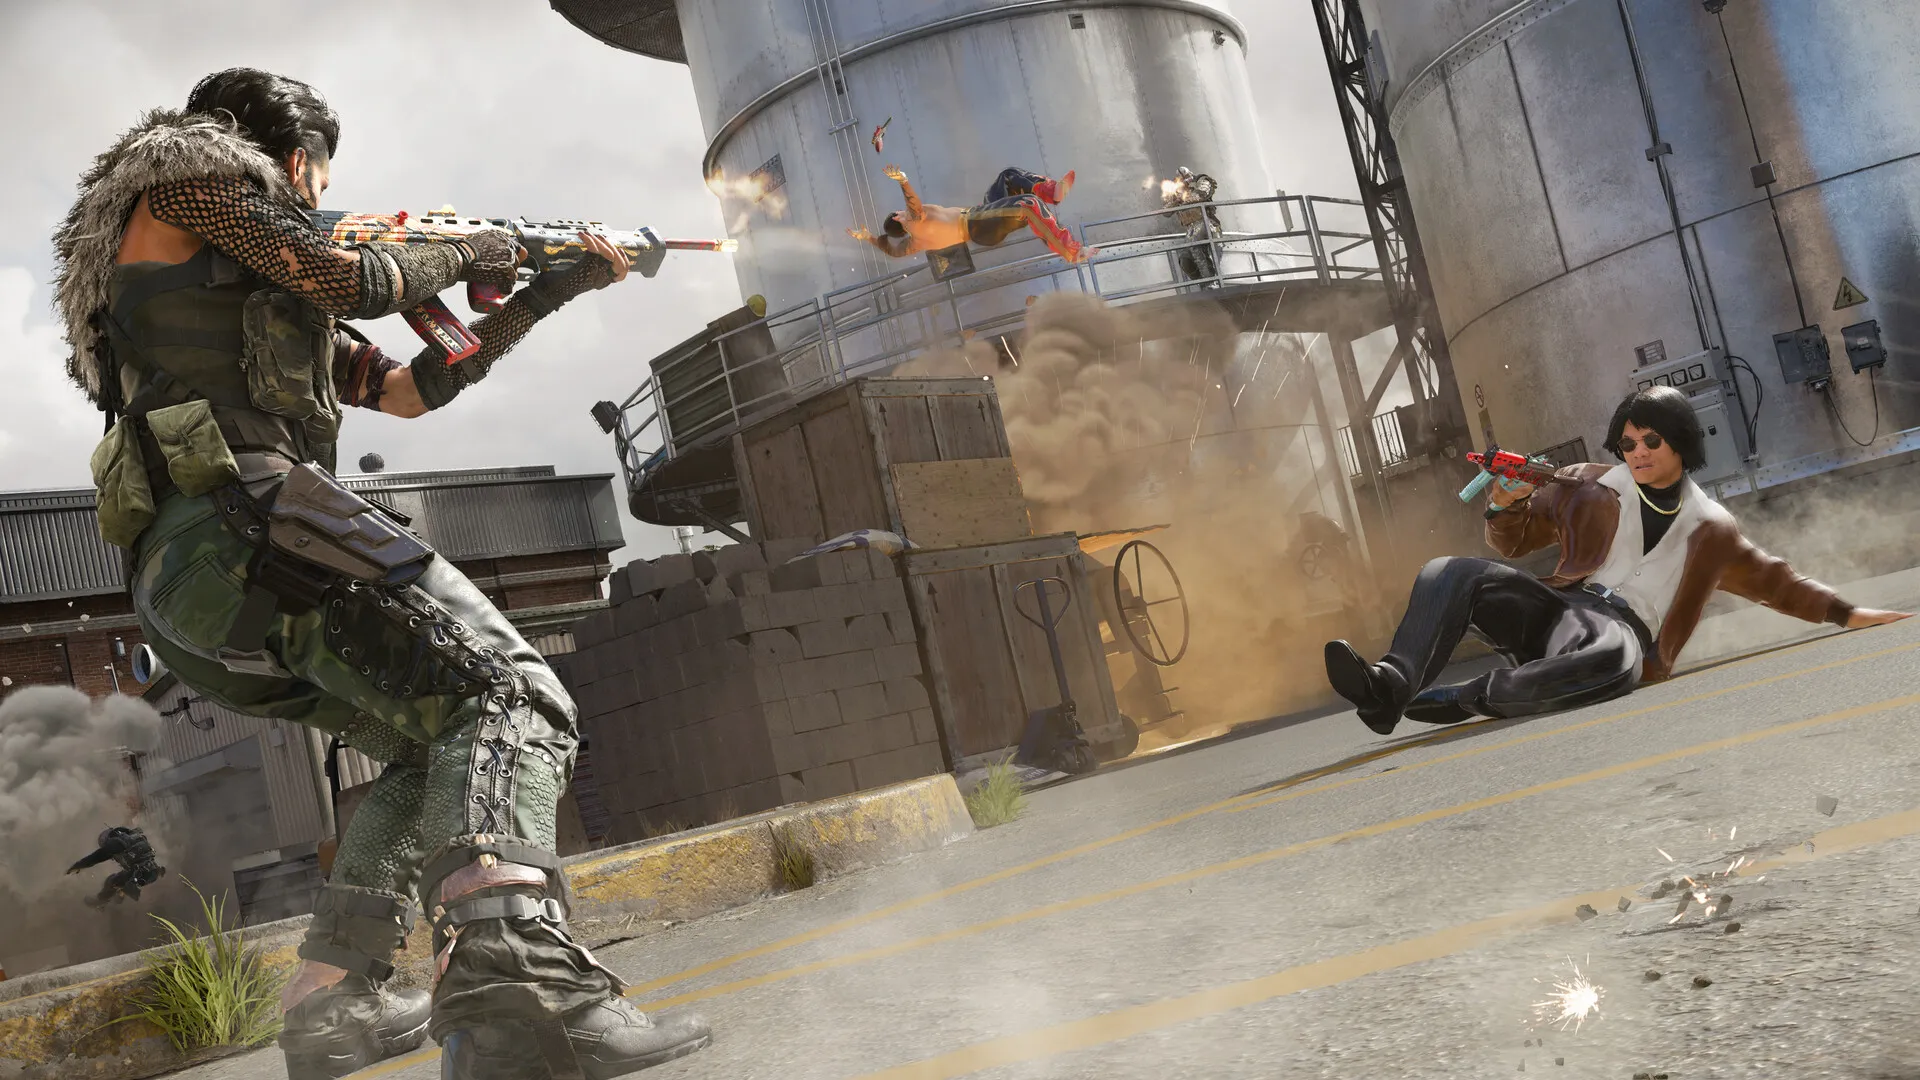
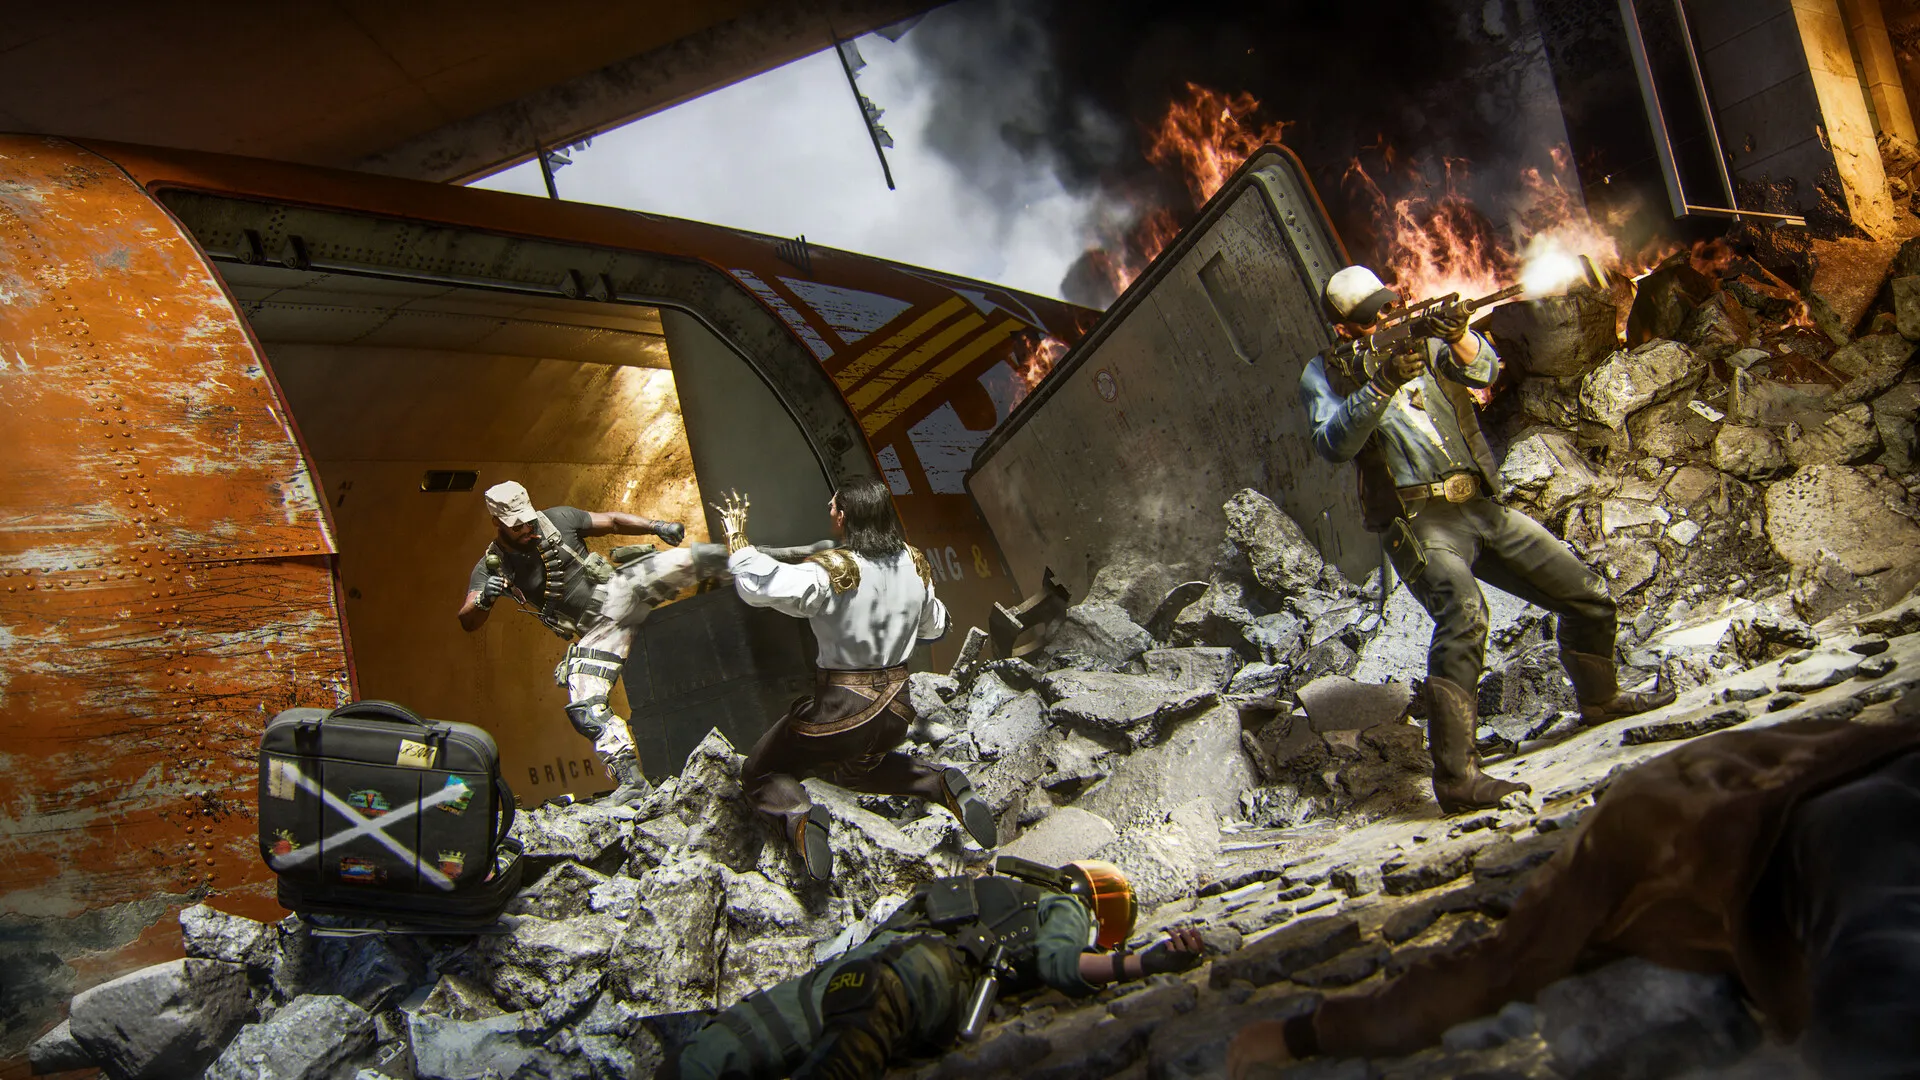
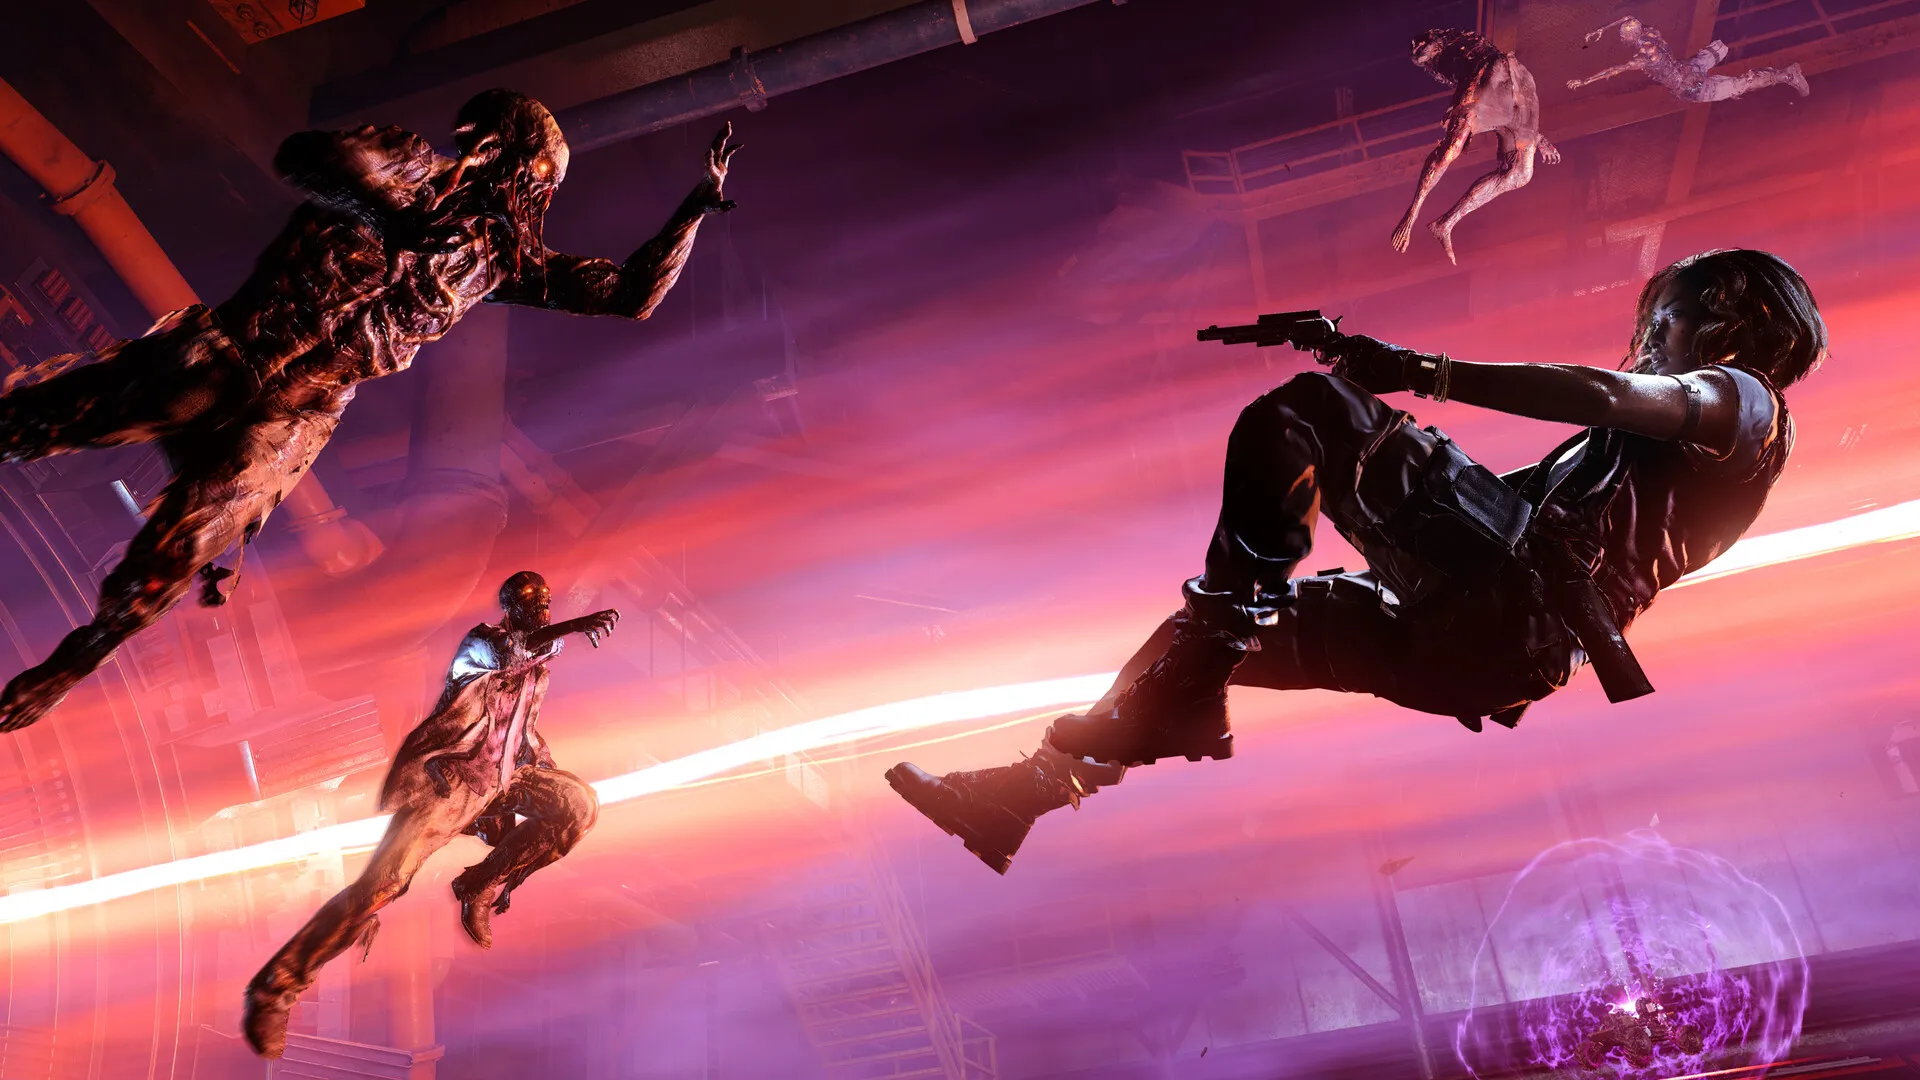
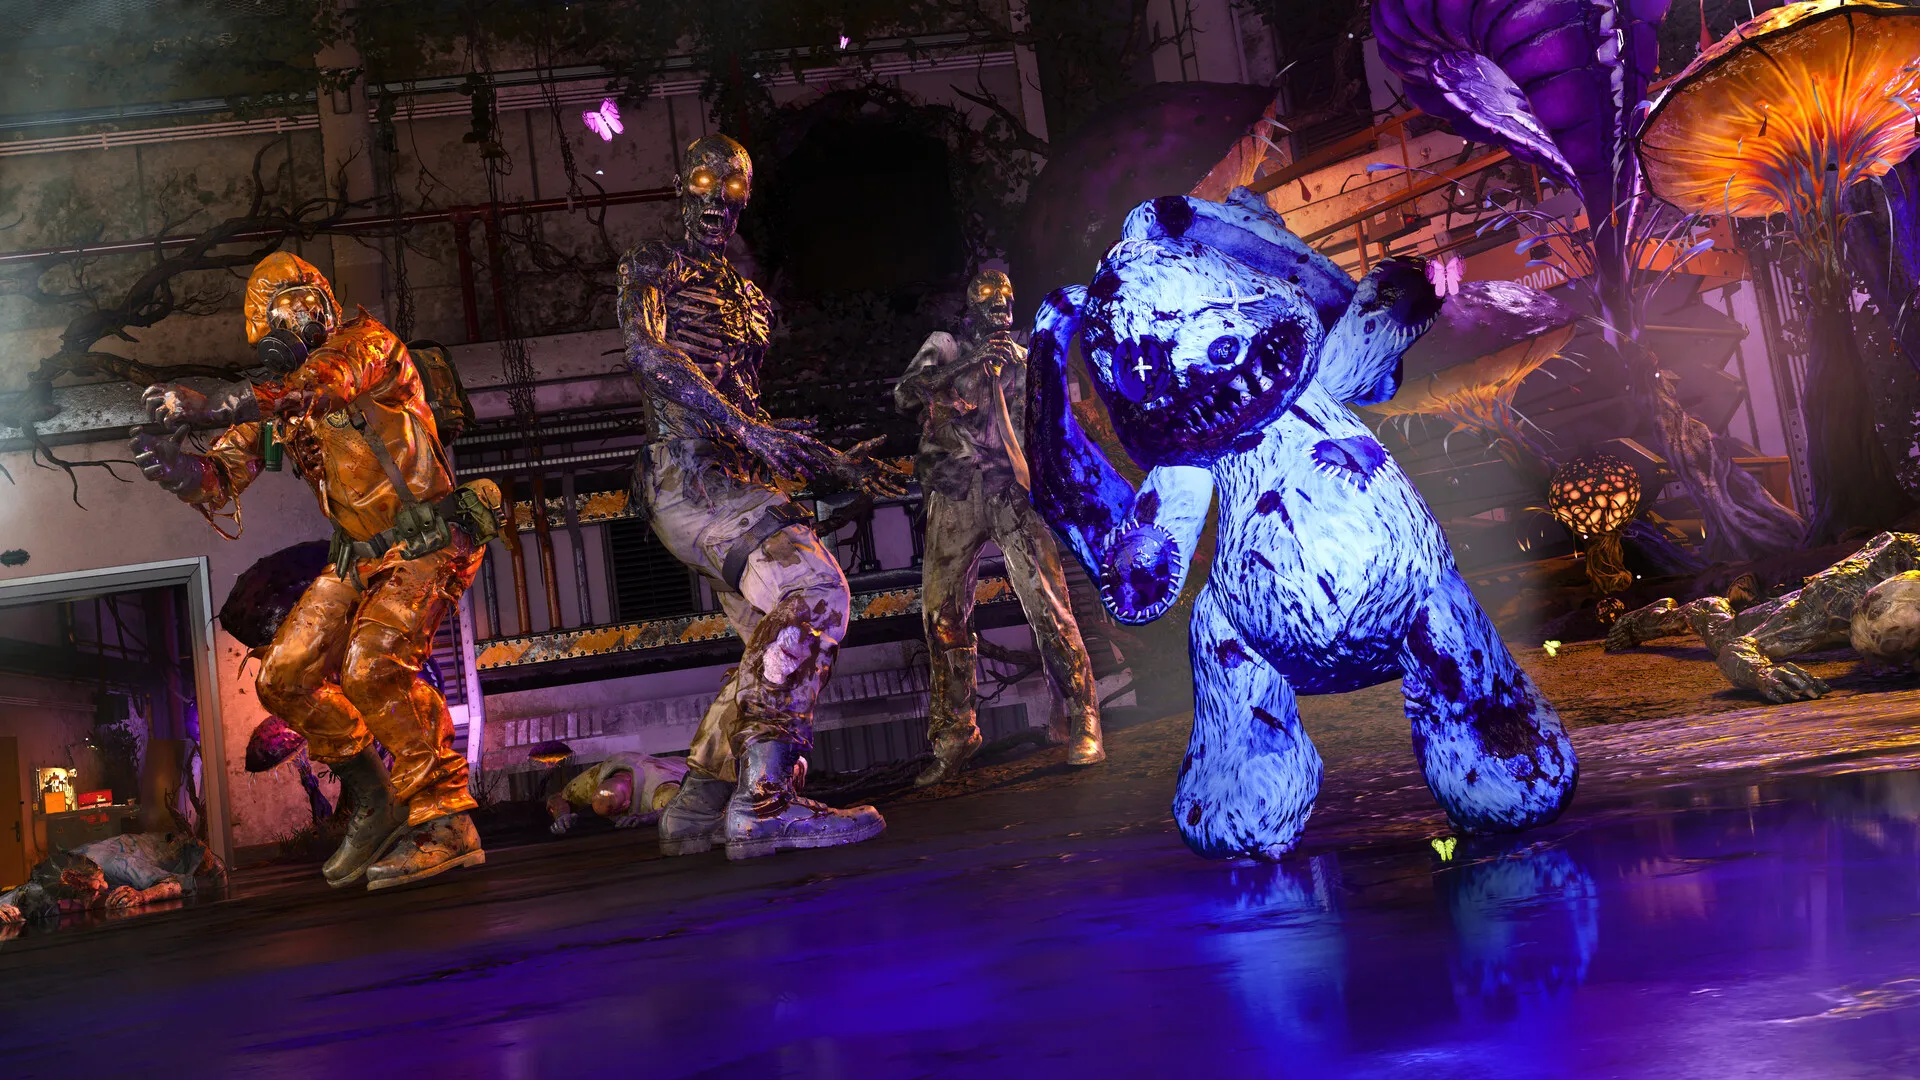
Call of Duty®: Black Ops 6 is a first-person shooter set in the early 1990s during the Gulf War, blending espionage, covert missions, and large-scale combat. The story follows Black Ops veterans Frank Woods and Troy Marshall, who are forced to go rogue after being branded as traitors by their own government. Alongside familiar allies and new operatives, they uncover a deep conspiracy tied to a shadowy organization.
Rating
Graphics and Sound
5
Controls
4.5
Gameplay
5
Lasting Appeal
4.5
PROS
CONS
Get Game Links from Digital Markets
All trademarks belong to their respective owners.
Popular
Latest Post
Latest Reviews
Non-Affiliation: This website is not affiliated, associated, authorized, endorsed by, or in any way officially connected with any third-party brands, companies, or their subsidiaries and affiliates mentioned herein. All product names, logos, and brands are the sole property of their respective owners. The use of any trade name or trademark is for identification and reference purposes only and does not imply any association with the trademark holder of their product brand. The content provided on this website is for informational purposes only.
Blog
Latest Reviews
Contact Us
© 2026 skorh5.com | Operated by BRAVEBITS GLOBAL LTD
Morgan & Morgan Building, Pasea Estate, Road Town, Tortola, British Virgin Island